Vogue 8953 fell into that last category. I actually like some of the new boho looks with the more current skinny jeans and pants in my wardrobe but this tunic looked like the old shapeless sack with a belt when I saw the line drawing. I zoomed right past that page when it came out in the catalog. Vogue 8953 But surprise.....not really a sack after all.
 |
| Vogue 8953, version #1 |
 |
| Vogue 8953 with flared bottom peplum, not the sack like drawing |
This is where sewing friends are the bestest!! I was at the June meeting of my "neighborhood" ASG sewing group (my "neighborhood group is about 50+ miles away in Northern VA but what's distance between friends) and one of the group had sewn this pattern for her daughter. She didn't love the directions but I loved the look of it for one significant reason. Turns out that the bottom section is actually two separate pattern pieces in a lovely flattering circle skirt design so it drapes nicely as a peplum rather than merely being bunched up fabric below the belt. She let me try on her daughter's top and it fit almost perfectly....or at least enough for me to know that it was worth pursuing on my own. I bought it at the next Vogue sale and worked on my mock up by the end of June. The mock up showed me that I still needed a few adjustments. I was hoping against hope but no, I still needed a FBA even in this full a top because the front was pulling forward to I added a 3/4 inch FBA and moved it to the top pleats.
 |
| FBA moved to the top gathers |
 |
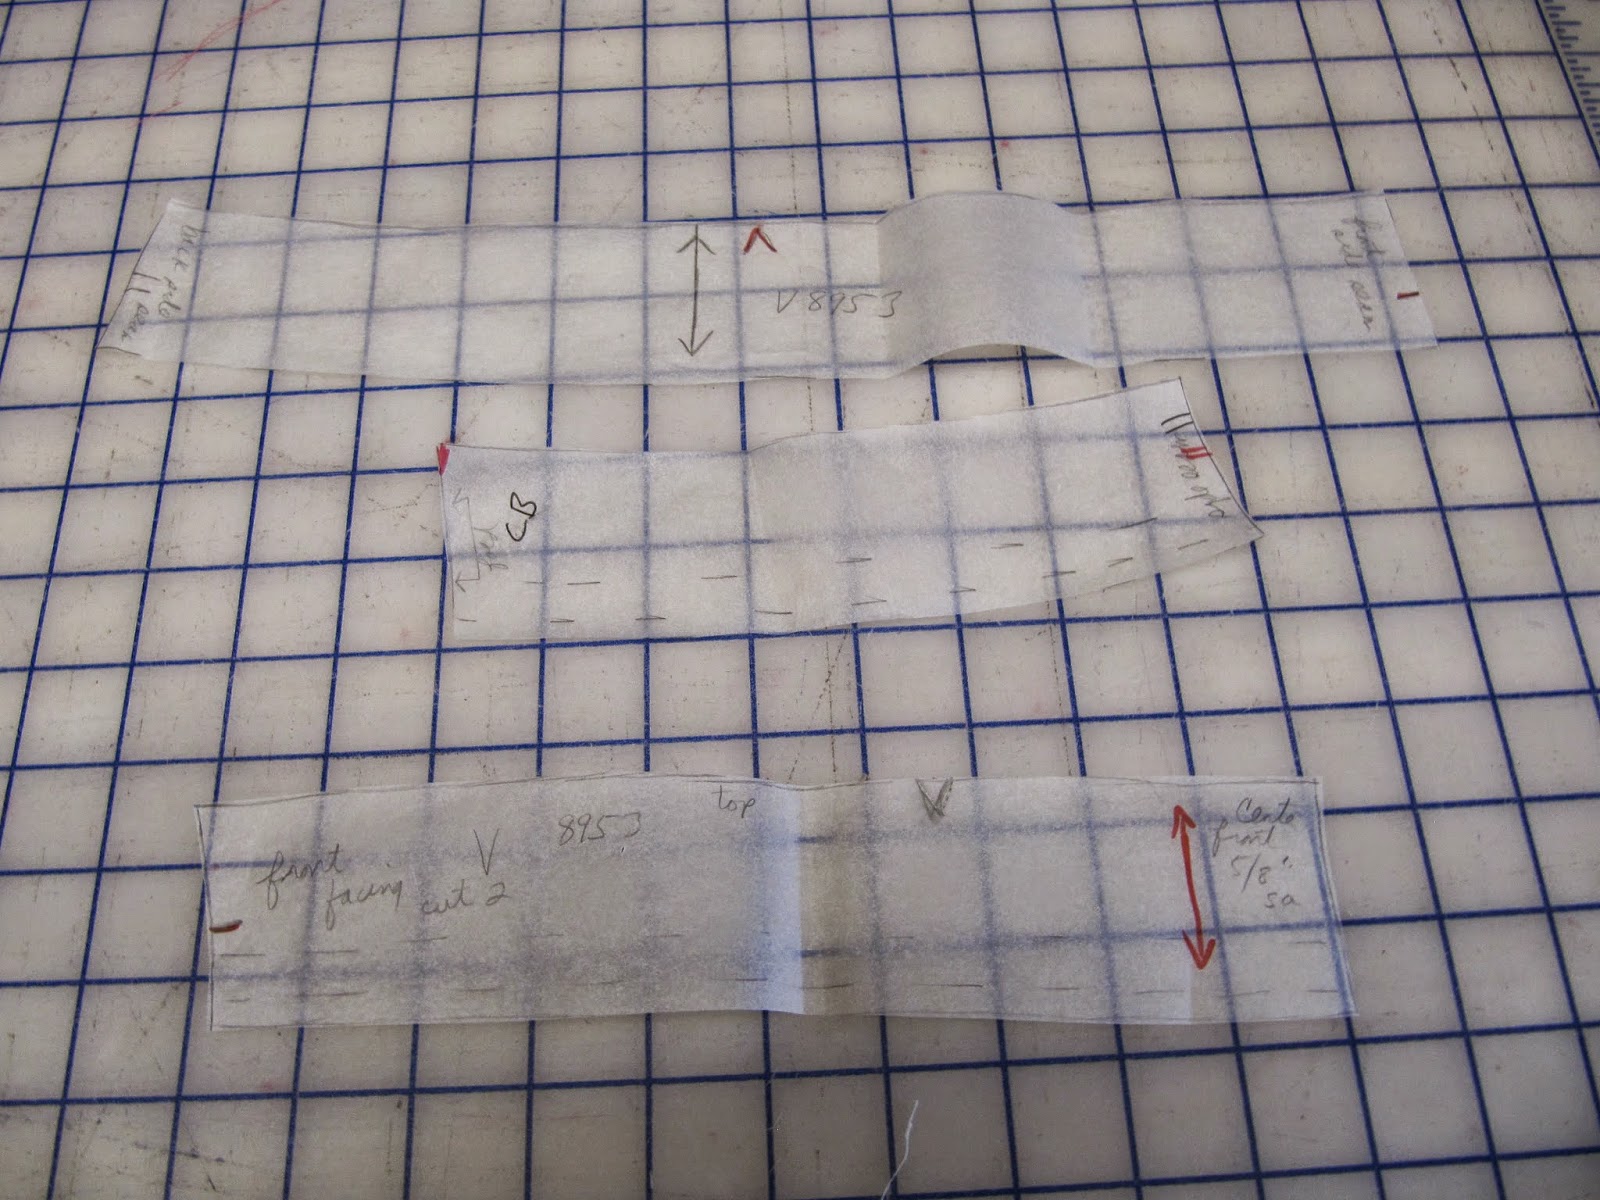
| Three facing top band pattern pieces |
I also liked the neckline ruffle to be a little wider since I frames the face nicely. I stitched the top seam at 3/8" not 5/8 and also moved the gathering stitching lines right down to the edge so my ruffle is about 1/2 " wider" than the pattern calls for.
 |
| Finished ruffle width is wider than Vogue designed it. |
 |
| Serged on the inside ...and a view of my zig zag understitching |
Another instruction change is that I used the famous Steam a Seam to "seal" the seam allowances inside the seams where the drawstrings are attached. That way no matter what tool you use (I use a safety pin) the drawstring won't get caught as you try to ease it through the casing.
 |
| 1/4 " Steam a Seam applied to edge of seam allowance for the width of the casing seam |
 |
| Ironed and sealed in place so that it will let the safety pin glide over it inside the casing. |
 |
| Next time I used the Steam a Seam 2 Lite version....just as strong but less stiff |
 |
| Vogue 8953 Version #2 straight tunic |
 |
| A little longer with more ease back there next time...Lucky agrees. |


