Our travels are rather casual, active life trips,not really that much sightseeing going on so this scarf is something I was only going to use when I wanted some hands free time while still having my most important things like my passport and credit card on my person.
 |
| Infinity scarf with security pocket |
 |
| ITY knit infinity scarf with security pocket |
It is not necessary to put this pocket in an infinity scarf; I just happen to like the style particularly with a tunic top where it looks like a cowl but is de-tachable.
First step, then, is to cut a scarf the length and width you prefer. In knits, I usually cut a scarf the width of my fabric...from 54 to 58" long. I make my knit scarves 18" wide.
Next I had to plan how large to make the actual pocket and where to place it. I decided that I wanted the pocket to hold my passport at the largest (and maybe my cell phone and credit card) so my pocket measures:
 |
| Sample pocket to test the size I wanted |
 |
| Chalk lines for finished pocket size |
After cutting out the scarf fabric, it is time to sew a 9" invisible zipper starting six inches from the back neck seam edge. I hope you are not afraid of invisible zippers. Ever since I bought the invisible zipper foot for my Viking machine they are my favorite type to install. Lightly interface the two seam allowances where the zipper will go then sew in the zipper in that area. (These pictures are slightly misleading since they are my first sample pictures. The zipper area starts several inches further down on my actual scarves.)
 |
| Interface the zipper area with 3/4 inch strips of lightweight interfacing |
 |
| The invisible zipper foot has a grove that guides the zipper teeth away from the needle |
 |
| Invisible zipper sewn into the seam |
 |
| Opened zipper on my sample |
I pull the long tube so that the ends are facing right sides together inside one another.
 |
| Long tube pulled so that right sides are together....note the pin marking the mid-point to the left. |
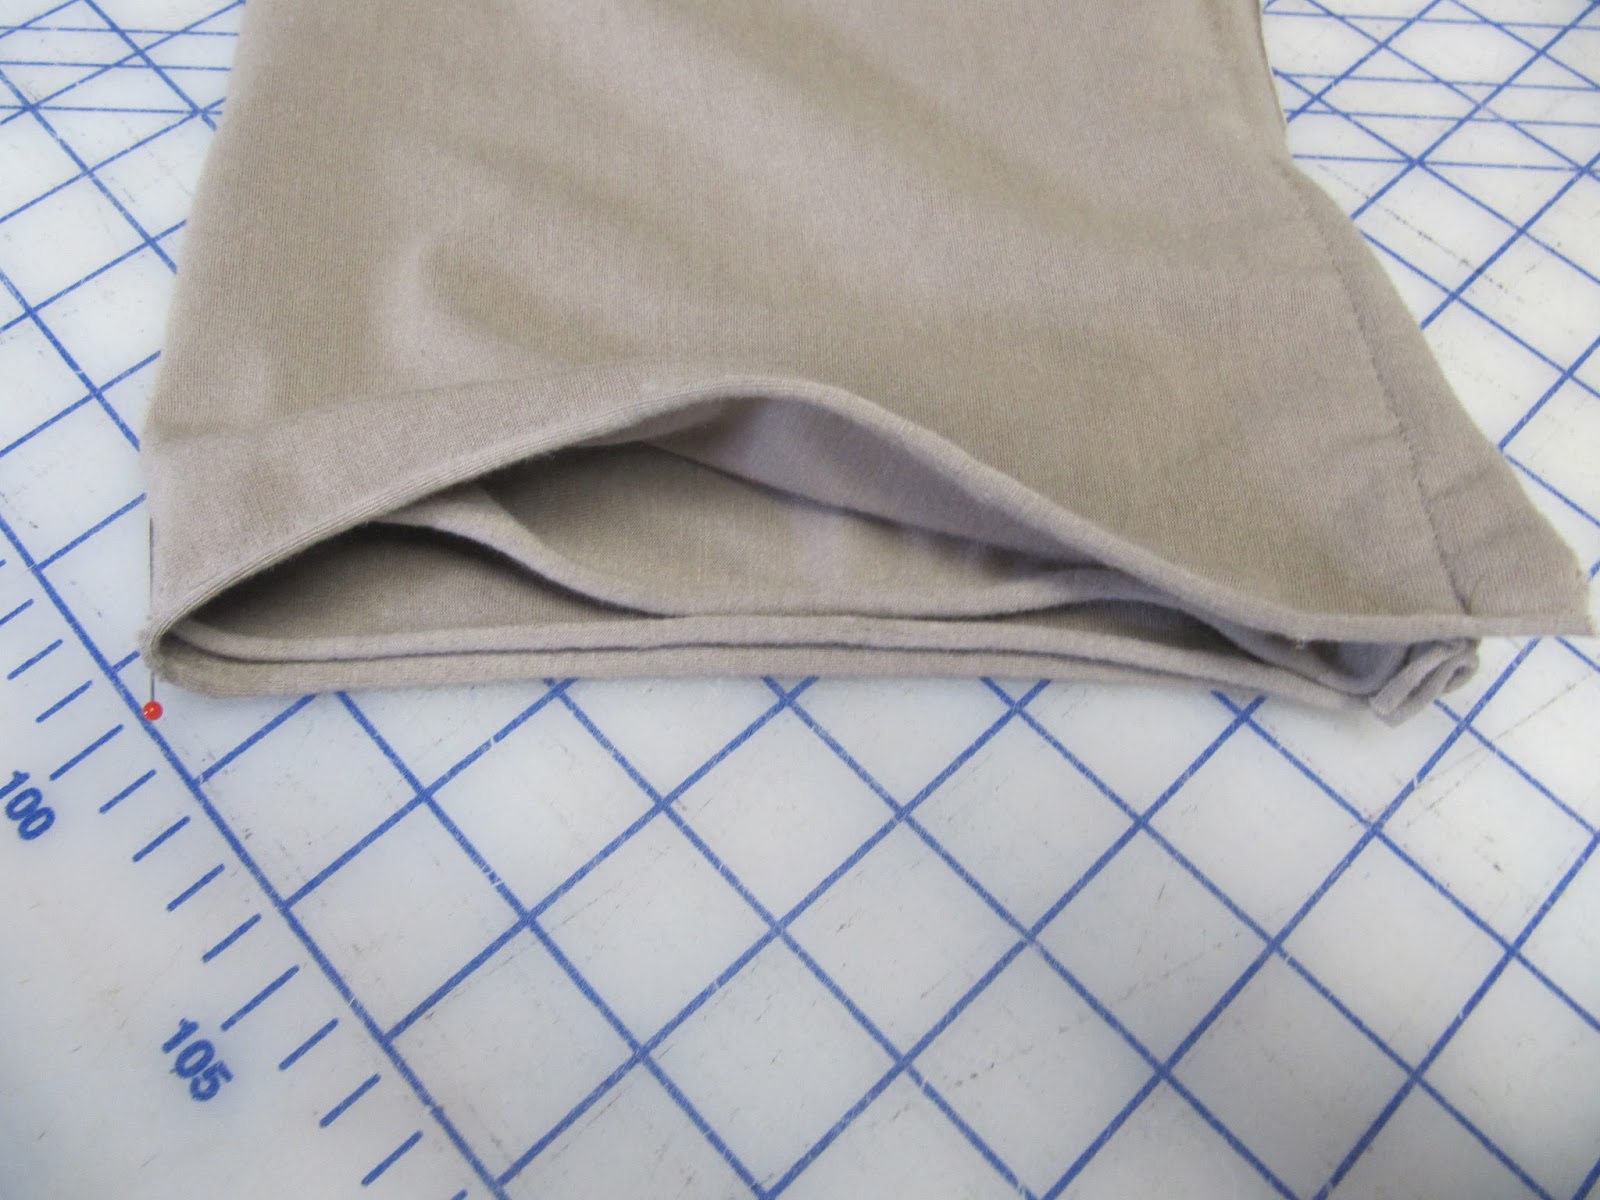
Sew that shorter seam allowance, leaving two inches unsewn to pull the scarf right side out.

Slipstitch those last two inches closed and you have an infinity scarf.....and now you need to sew the pocket area.
Go back to that invisible zipper section of your seam and chalk mark that rectangle size pocket that you decided you liked. Sew that rectangle through both layers, using a jean seam jig to get over the zipper section at the beginning and end of the pocket.

 |
| The pocket outline was marked with chalk then I stitched over it to create the pocket. |
|
| Now you see it. |
 |
| Now you don't |
Overall I am glad I made the scarves for my particular purpose but would not use them on a daily
basis. But isn't that the nicest thing about sewing new things? It lets me try ideas for fashion and accessories without the major investment of buying them and then being disappointed and wasteful. Here's hoping you find a way to create something handy in your life soon.
This is a really great idea! I am thinking this would be something to wear when I am with my walking group when all I need is a credit/debit card, drivers license/car registration and maybe a couple of dollars cash. Would not weigh the scarf down too much and hands free!
ReplyDeleteThat sounds like it would be the perfect situation for this little pocket.
DeleteThat is very clever indeed. I might well try making one. It would be good for popping to the pub.
ReplyDeleteI always leave England so envious of your wonderful pubs. So glad you think it would be useful.
DeleteVery clever, Ruth! Thanks for sharing!
ReplyDeleteThis is cool idea. A lot better than the crude pockets I added to the inside fronts of RTW jackets and coats to carry passport and credit cards.for my European travels. I could make one scarf in a vibrant print and wear it with multiple jackets. Idea bookmarked!
ReplyDeleteThanks, Audrey, hope you find it useful.
DeleteThank you for this pattern. Just found it in a search for pocket scarf. This will be perfect B-day gift for friend who hates carrying a purse but must have her debit card and phone.
ReplyDelete