Saturday, August 11, 2012

Are You a Snoop?

I am a snoop.  Yes, I am a snoop shopper and proud of it.  This past week I just spent the most marvelous day snoop shopping with a gracious, patient, encouraging sewing friend.  You see, I've signed up for the Susan Khalje Little Black Dress class on Craftsy (that 4th of July sale suckered me in, how about you?) and I wanted to consider different dress styles.  Now, I have no current place in mind to wear a casually sophisticated dress but I'm giving myself the winter to work on this project.  This isn't mother of the bride or some dressy society affair garment that I have planned nor a dress to go dancing in.  No, I want something that I could wear to a high school reunion (never mind that I've been twice and am done with them) or an anniversary dinner and theater night with Mr. Lucky.   
So rather than just look through pattern books and online pattern offerings, how about going out and trying on dresses of every shape in a few really good stores.  What can I learn from this experience?

1.First thing I learned is take a friend and have her make you try things on, no matter what your opinion is of the dress on the hanger.  Hey, I know this theme, being a dedicated "What Not to Wear" viewer and it was hard for me to do.  You're not there to spend the money but to discover silhouettes, colors, dress details that you are going to translate into making your couture dress.  I haven't been buying RTW, except maybe separates, for well over a decade.  Yes, I too am plenty self-conscious about the loss of my girlish figure....actually I'm more self-conscious about the flabbiness of my skin and body since I never did have a "girlish figure."  But this was a fun day just exploring possibilities.

2.  Forget those self-critical examinations of particular body parts and try the darn dress on.  I was so very surprised that the first one I tried with a waist line and full pleats looked fun and girly on me.  I never would have picked it up on my own.  

3.  Notice the dress details that you can translate into your own final pattern.  In high end RTW the princess seams are broken up into smaller darts that become accent opportunities and can create all sorts of illusions.  Very instructive to see these on my body.  I noticed that there were very few facings, that most dresses, even stable knit ones, were lined to the edge of the neck and/or armhole.  Sometimes they were pick stitched to keep the lining from rolling outward.  The few unlined dresses had small bias facings that were also commonly pick stitched to stay flat inside the garment.

4.  Fabrics were most generally flat, not light reflecting.  That made a huge difference in minimizing the size of my body and instead accenting the shape and silhouette.  Makes me regret selling and donating a lot of wool crepe over recent years.  But I still have some and also some wonderful stable double knits in my collection.  A few of the dresses were stretch wovens and those had nice lightweight stretch linings, just what I do for my stretch woven pencil skirts and stretch woven summer sheath dresses.

5.  Remember, you are probably not buying anything and even if you are, don't buy it on your first visit....these stores will hold that dress for a day or so.  Almost every single dress I tried on would have needed some alteration done so don't expect the dress to fit perfectly....and don't forget to learn something from the ones you like the ones you don't. I thought I would need more of an empire waist to be flattering on my shape.  Ain't necessarily so.  Sometimes a high waist, but not empire, was absolutely the most flattering.  

I took cell phone pictures, mostly to jog my memory, of my favorites so I can look at more the details online later.  I will also admit that one of these dresses looked so fabulous on me (a total surprise based on its hanger appal) that I looked seriously at the price tag.  Yikes, not in my league at full price.  But I will definitely watch this one carefully since it would be an investment piece....but guess what,  I still would have to do a shoulder upper chest petite alteration.  Oh, I am glad that I can sew.

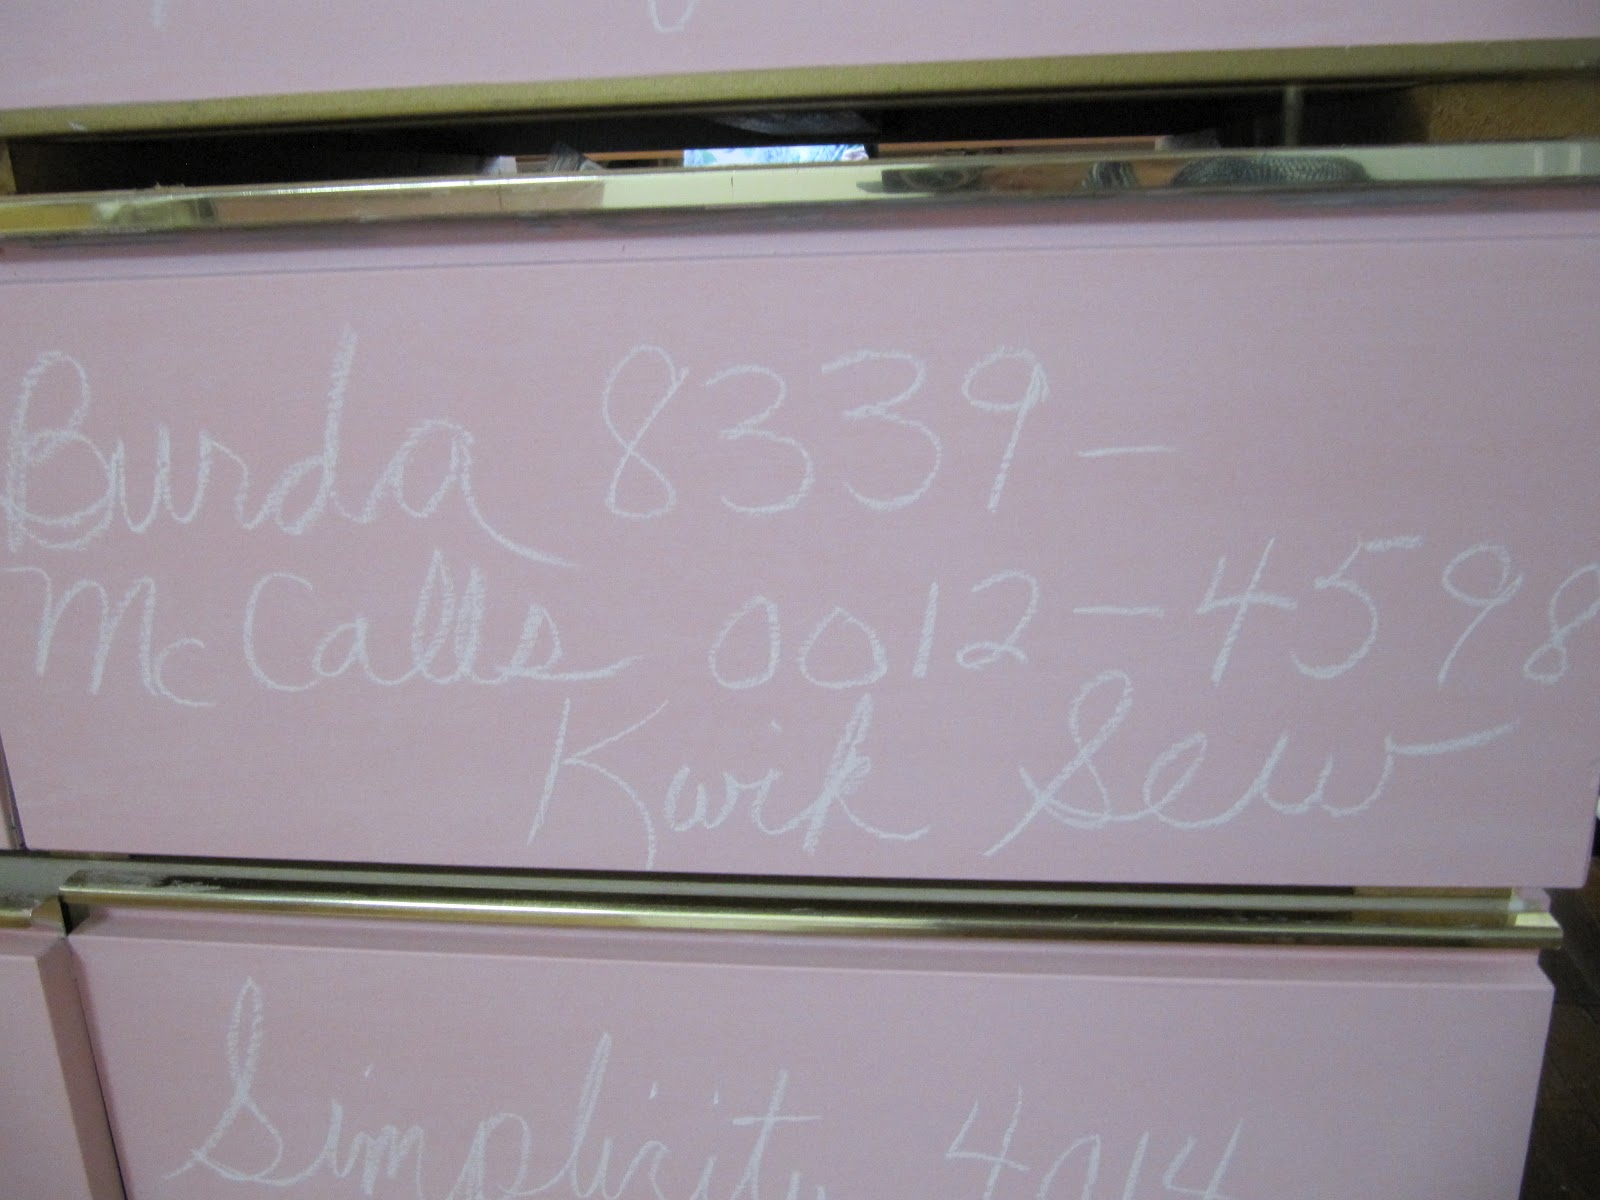
Want to see my favorite contenders?  Here they are:
Kate Spade in the middle and on the right, Kay Unger on the left
Great extended shoulder look, can't recall the designer
A favorite designer of mine, even before this shopping trip: Lafayette 148
I don't have a specific dress pattern in mind yet for Susan's online class but this trip opened up several more possibilities for me.  I will share one more funny story about the day.  I certainly didn't overdress for this little excursion....after all it is August in the northeast USA and slow and hot days are the norm.  So I packed one of my knit dresses and a pair of comfy but attractive but very inexpensive sandals to wear....so inexpensive that I bought two pairs a few summers ago.  As I dressed that morning I pulled the sandals out of my suitcase and you guessed it....I have two left feet! Too, too funny.  So I had to wear my little black leather flats from the previous day, felt frumpy but sales people were delightful, the day was fun and I recommend that sewists take the time to do this every so often.  There are sewing lessons in these stores, I promise.
Kay Unger dress: good color, good neckline, a little dumpy otherwise....but at least left and right shoes:-)

Wednesday, August 8, 2012

Hot Weather, Hot Dress, New Top

I'm calling this my "Hot, Hot, Hot Dress," not because I'm so very hot and spicy (more like medium hot and saucy) but because this is our very hot summer here in the US.  I cut this dress out after the June 29 storm when we lost power for four days.  My sewing room was hot, hot, hot as well since it's the top floor of our 60 year old house.  But I admit that no Internet or electronic entertainment meant that I got a lot of cutting out of projects done even if I couldn't sew right away.
Simplicity 3678, view C, with narrowed sleeves
The fabric is an ITY knit from Fabric.com.  For once I didn't let this one age too long. 
Droopy rayon knit failure

 I did try this scoop neck view C in a wearable muslin as a top first.  I did a "cheater's" full bust adjustment by adding an inch in width at center front which was simply eased into extra gathering, and 3/4 in extra length on the front bodice piece which I also eased when sewing it to the back pattern piece.  But the wearable muslin was unwearable.  I stitched it up from some of the rayon knit fabric that Fabric Mart had last summer and it drooped and grew the moment I tried it on.  Shucks, I love the colors in the remaining fabrics in my collection.  I think they might work as more closely fitted knit tops, perhaps as my favorite Jalie knit top.  But the full bottom was too heavy and kept pulling this top downward.  Ah well, that's why we make a sample mock up, right?

What do you do when you have a sewing disappointment?  Pull out a guaranteed success and get back in the saddle.
Simplicity 2364
This is another version of an OOP pattern that I have made several times before, as a top and as some dresses.  I like the scoop neck of view C on the pattern and already have a few more in the works.  Once again, I love a TNT pattern and the options it gives me to expand my wardrobe quickly and easily.
Speaking of TNT, here's another of that Simplicity 2364 where I've combined some stretch lace and slinky from my collection.  Next time I'm going to try a knee length dress.
Speaking of the hot weather, much of the US has been suffering from heat and drought conditions this summer.  That was also the theme behind this thoroughly enjoyable Australian mini-series, Rain Shadow, that we rented from Netflix last month.  The beautiful Rachel Ward is a farming vet who hires a new city vet as an assistant....after 6 others have left her employment in the last year or so.  The six episodes are excellent character studies of the locals, the struggles of farming in an era of climate change and we thoroughly enjoyed this one.  How nice that Netflix, like blogging, lets us better understand the interests and challenges of people around the world.

Tuesday, August 7, 2012

Living Room Pillows

 My sewing room makeover almost two weeks ago did not keep me from doing some actual sewing along the way.  One of the things I like about blogging is that it does challenge me to keep good records so these next few posts will catch up with completed sewing projects from the previous month.

I've had on my home improvement list to add some more throw pillows to our living room sofa here in Baltimore.  This first one is a 12" by 16" accent pillow from some "free fabric."  Robb and Stuckey was an upscale home furnishing store in FL until they went bankrupt after the financial meltdown.  There's some new version but what I always enjoyed was picking up remnants that they generously donated to our Ft. Myers sewing guild.  This is a woven faux leather with a fusible backing already applied.  I bet it wouldn't be too bad to sew on an industrial machine but it gave my Viking 770 a little workout.  
I used a large leather needle which punctured the fabric and backing but the machine had a little power surge (the light would dim) all the way around the pillow.  

It was a bear to turn inside out as well.  I couldn't pin it shut to hand stitch the final seam so I used these binder clips.  
I sat outside on our deck and used what I think was a leather needle (although not marked that way) to sew that bottom seam.  But sort of cute on either the chair or sofa.  


Next I used some extra fabric from this chair and made a toss pillow with some brown tweedy cotton velvet for piping, a sample piece from Fabric Mart that I've been saving.  The pillow form is a down and feather 16" by 20" form from Fabric.com.  They have great feather pillow prices.

Again, I'm pleased with some more color and texture on this plain microfiber sectional and have a few more pillows in mind for the future.  As always, home dec sewing isn't my favorite but there is a lot of bang for the buck.  


Monday, July 30, 2012

Offray Ribbon Outlet, Hagerstown, MD

Yes, fashionista sewists, there are ribbon outlets as well as fabric outlets in my corner of the world.  And you wondered why I call myself lucky?
On my drive to my friend's terrific birthday party, I was within a few miles of the famous Berwick Offray Ribbon Outlet and just had to stop in for a visit....do I hear an "amen?"  
Berwick Offray outlet write up  The plant is located in a suburb of Hagerstown, MD and like any good outlet, the inventory changes daily.  I don't even "need" any ribbon but their prices and selection make this stop irresistible.  And those Pinterest pictures and projects  are always in the back of my mind so here's what I got and here's how I'm storing it.
Simply Irresistible
$.50 a roll, from 10 yards to 30 yards on a roll
My most expensive purchase, $3.60 each for 10 yards apiece
$.10 a roll....and the blue gingham is wired!
$.25 per bag
$.50 per plastic grocery bag
Yes, there are rolling canvas carts full of these grocery bags with yards and yards of ribbon just stuffed inside...$.50 per bag.  So I was right behind the woman who brought out a new supply and grabbed four bags.  When I got home I emptied the bags and started winding up the ribbons inside.  The red white and blue ribbons were obviously leftovers from the recent US patriotic holidays.  The stars were probably meant to be printed on all the ribbon but missed some so now I have a coordinated set with which to update my holiday door wreath.
The pale Green is wide, wired ribbon in one of my favorite colors and which happens to be the green in that new "Tres Chis" fabric adorning my sewing room.  
The black and white polka dot is also wired ribbon and again has some misprints and faded dots along the yards....but there's plenty here to be salvageable for a sharp project.
I included the last bag unwrapped just to show you that they look quite mundane and boring at the factory.  here's what happens when you dump out one of these grab bags:
Spilled out onto the floor


As you start winding the ribbon you notice the color changes and flaws and can decide to remove them or mark them.  I simply cut this bundle into separate sections of color:
All this ribbon from that bag


Here's how I organized this latest collection along with other ribbons in my resource center
Now let's all sing along with the late Robert Palmer...
don't you think a ribbon outlet is 
Simply Irresistible?


Sunday, July 29, 2012

Sewing Room Makeover, Part 1

Thank you, once more, sweet sewingly lovely readers, for your comments on those Vogue tops.  I tried to reply to your comments but either Blogger or my computer won't let me publish a reply.  But I do appreciate each one.  Sewing can be such a solitary hobby and it's a treat to speak to one another, even if it is only "virtually."


So, are you a "Pinner?"  My new unproductive passion, Pinterest, continues to inspire me with pictures of beautiful rooms, smiling children and delicious plates of food.  Now I realize that all of those are merely photographs and that reality is far more complicated, but those pictures do mesmerize me at times.  But this blog is not Pinterest.  No pics of beaming grandchildren on vacation with me, nor do I have a food stylist present when I'm dishing up dinner (even if it is scrumptious) and my pictures of a room in our household always seem to include some electronic charging cords and the rear end of a dog or two.  But I know that we are all nosy about one an other's lives so I'm going to share some of my ongoing summer sewing room improvements.  It's a work in progress and I'm happy with the progress I'm making.
It started this year with a change in lighting.  Just last year Mr. Lucky (my DH from henceforth called " a saint) replaced an '80s overhead fan and hanging light fixture (yes, with classic frosted scalloped globes) with this cool looking set of five lights that I found half price at Home Depot.  Ah, the reason it was half price must have been that it only gave off half the light I needed to find my way around this room.  Dim, full of shadows and the lights kept blinking off on their erratic power strip connection.  So this year I knew I needed a huge increase in wattage just to make this room really usable and enjoyable for these aging eyes.  Mr. Lucky spent one entire day re-installing new ceiling lighting for  me, a genuine headache because we have old wiring and he forgot to write down the connections when he took off the old.  Up and down, basement to second floor to turn off the power, turn on the power, turn off the power and try another combination.  He worked it out eventually and now there's a not as attractive but marvelously bright 4 "sunshine bulb" fluorescent box in that ceiling.  Oh my gosh, the difference is has made is almost indescribable.  Colors are clear and realistic, no more shadows and I love working in there any time of day or night.  I'll post new and improved lighting pics in the future.
Former hip but impractical celing lighting fixture
Next thing was a need to pretty it up while making it function a little better for me.  I saw this delightful "Tres Chic" print at a home dec store in Winchester, VA during our sewing retreat.  My second favorite fabric store, Fabric.com, had a sale earlier this spring so I got four yards of it for window toppers and some other sewing room accessorizing.  No window toppers yet but here's how I've used it so far.  
Ikea cabinet full of knit fabrics that constantly distract me with possibilities 
"Tres Chic" fabric focuses my attention on the fashion project at hand
The Saint recovering and reassembling my Ikea chair
Voila!
Now let's turn our attention to that large cutting table and pattern storage arrangement smack dab in the center of the room.  It's been put together rather makeshift and functions nicely, just looks awful.  (They are old greeting card drawers from the business that closed down the street about 8 years ago.)
Usually it has little post it notes with the pattern info in each drawer
One of the frequent techniques showing up on Pinterest has been simple instructions to make chalk paint in any color.  This room could use some color so I decided to put it on these drawers and make them into something useful.  Pink paint to the rescue.  I used a coordinating pink from the fabric colors, almost Pepto Bismol like.  
I chose Pink Cafe from Behr paints


Did a primer all around the drawer cabinet and applied one coat of the pink to all four sides.  


After that base coat I filled an empty sour cream container with my chalk paint formula....one cup of paint mixed with 2 T of unsanded grout that I lightly mixed with water.  I applied two coats to the drawer fronts and to one side of the cabinets.  


After the paint dries, rub chalk over the entire surface to sort of prime it and then use it as a chalkboard.
Now I can easily see what patterns are in each drawer and change the info when needed
On the cabinet side facing the window and ironing board I also painted chalk paint and use that side as a memo board for things I need to buy on my next sewing shopping trip.


I loved my new chalk paint so much that I made a little extra gift for a dear friend's birthday party last wek.  Yes, you can apply chalk paint to glass....and change the message any time you like:


Back in the sewing space... I made a stencil from  a metal decorative dress form that I bought on Etsy a few years ago....aren't these three cute?


This side of the pattern cabinet faces a wall and my dressform so it is just decorative. I love the stencil image welcoming me I walk in the room.


Third side of the cabinet
The back of the cabinet faces the long wall where my sewing machines are.  Mr Lucky again came to my rescue and installed pegboard on the last side of the cabinet.  I'll be installing hooks and dowels and putting my ribbon collection there.  Ah, my ribbon collection.....that's a whole other story.  


I'm loving the aesthetic improvements in my sewing space and have been sewing up a storm in the last week.  Thanks for stopping by.  Now I'm going to take a blog tour and visit some other sewing rooms around the world.